I did have to sacrifice the "coin" button but I am going to be installing a working coin door so my daughter will just have to figure it out. I might wire the player 2 coin return to act as a "coin" button if I find that inserting quarters is too much of a pain. I'll also mount a switch on the inside to toggle this on and off so she isn't "free playing" all the time.
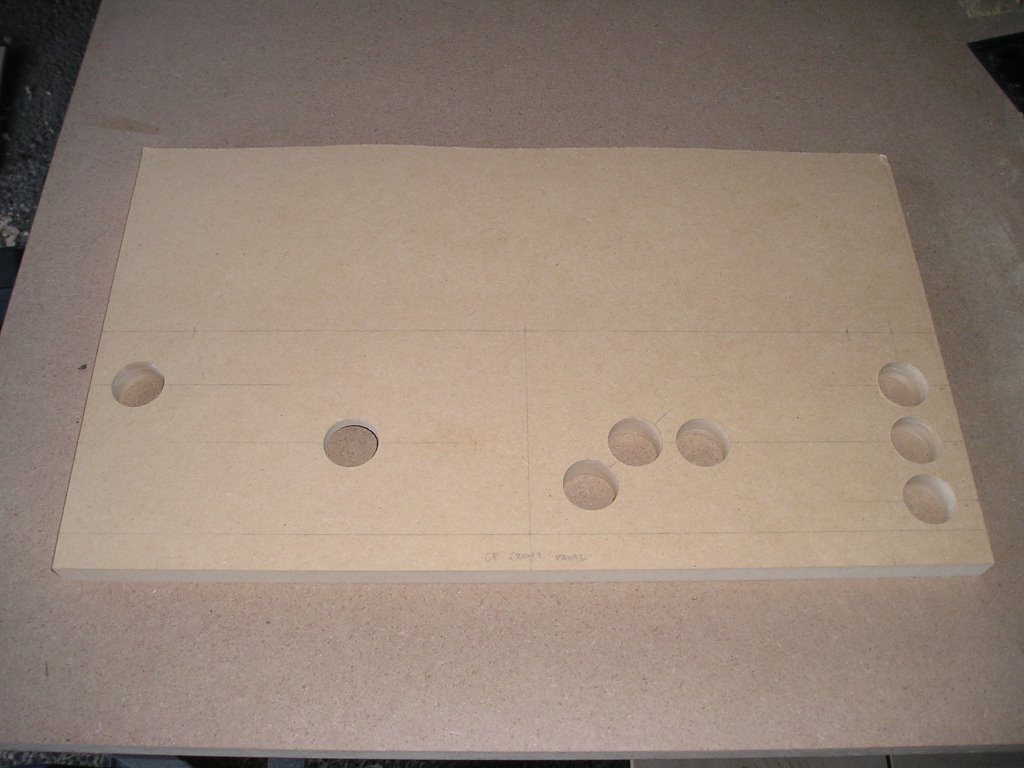
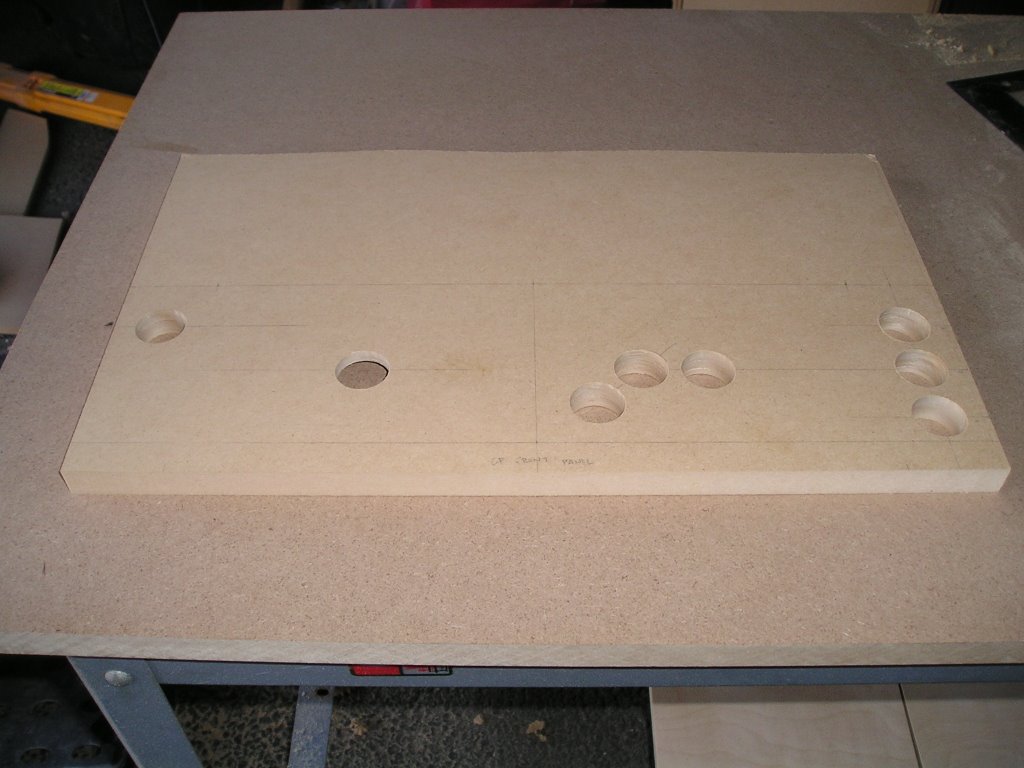
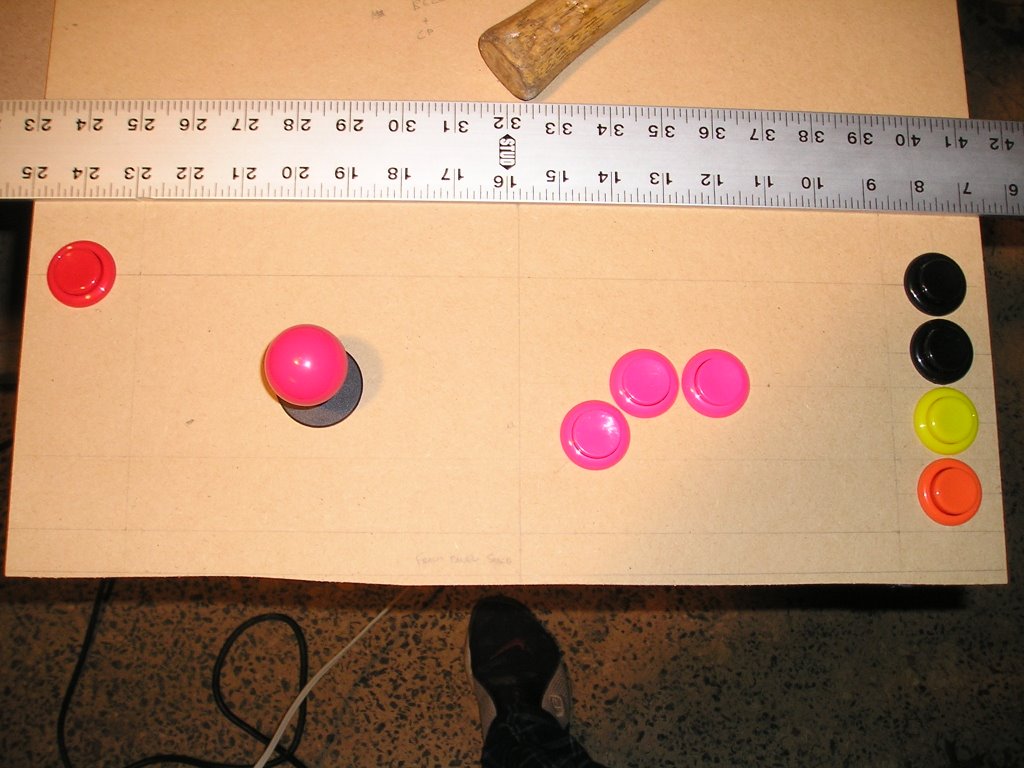
Anyway, here are some pictures of the panel with everything cut:

In the last picture you can see that I routed out a rectangle on the back of the panel - this is to install the joystick. If I were to mount the joystick on the back of the MDF without this routed section, the length of the joystick would be shortened considerably.
There are several steps to routing this rectangular area:
1. Using a pencil, I laid out the area where I wanted to remove the material.
2. Next, I scored the lines with a very sharp utility knife/razor and a straight-edge. I tried to get as deep as I could using just the knife.
3. Then, using a dado cleanout bit and setting the depth of the cut to 1/8" I carefully removed the material inside of the rectangle. When I got close to the edges with the router, the material popped out because of the previously scored edges and made a nice clean edge line.
4. After that was completed I reset the depth of the router bit to 1/4" and ultimately 3/8" and made another two passes. Once the initial cut was made the ball bearing on the bit guided me along the inside edges so there wasn't a need to rescore anything.
5. Finally, I removed the excess material in the corners with a small chisel to square it up.
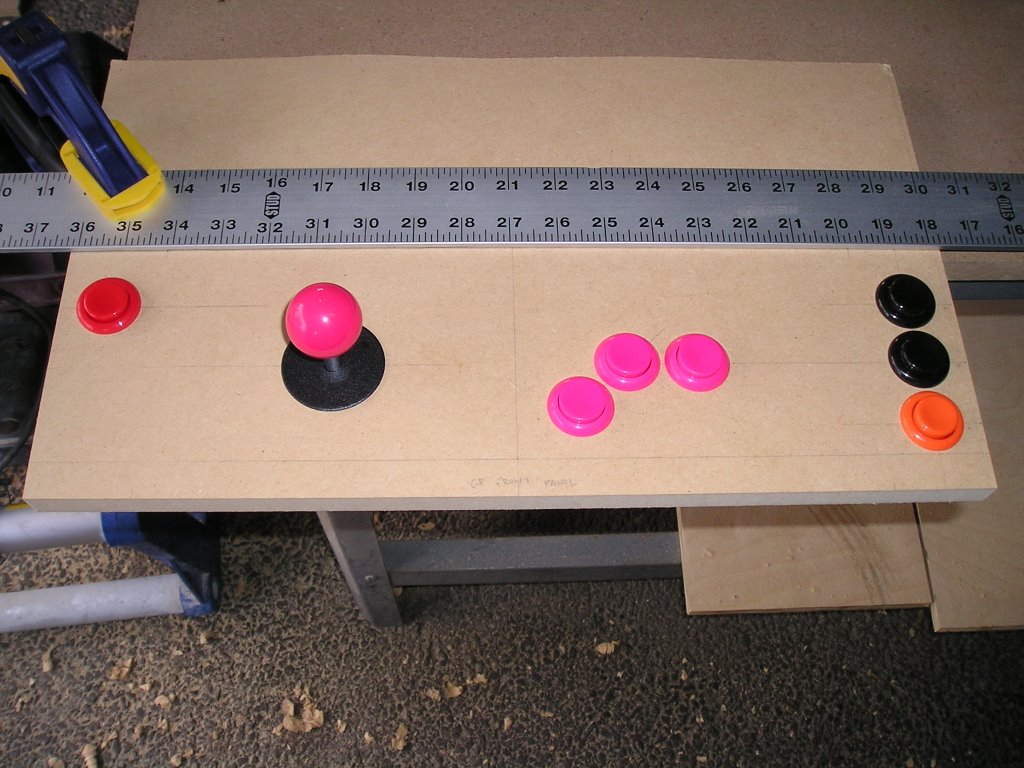
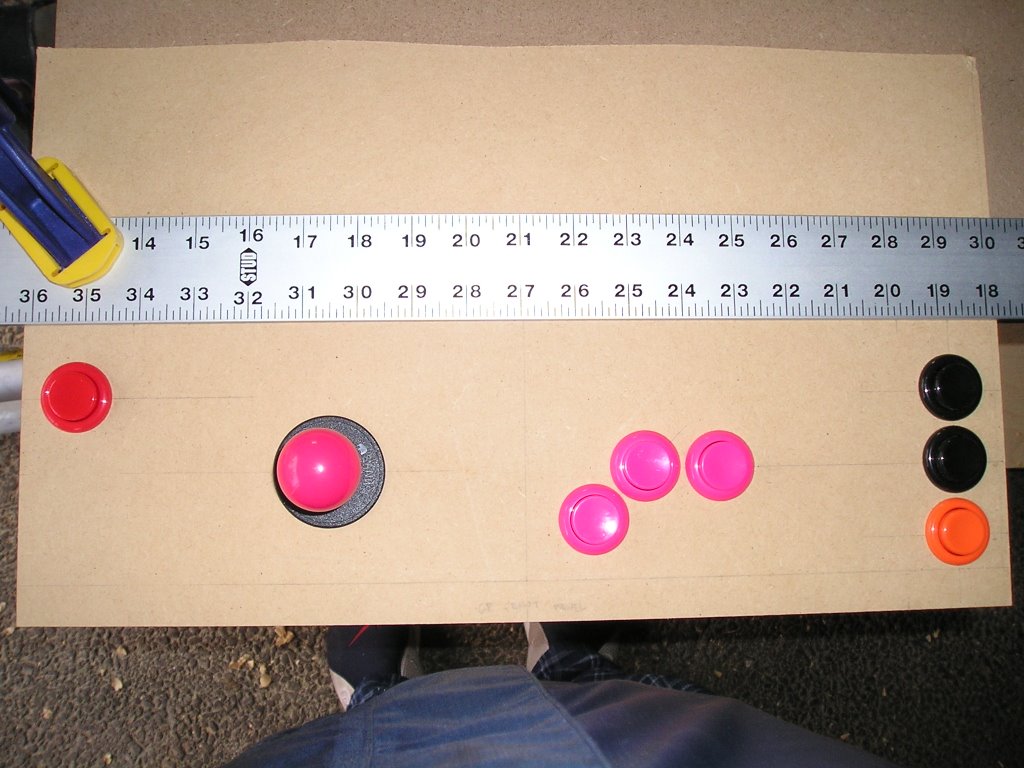
Here is a close up of the result and a shot with the joystick installed:


Here are some pictures of the control panel with everything installed (the bottom edge of the t-square is the top of the CP). It's not completely finished though. I still have to:
1. Cover the entire surface with black vinyl;
2. Round over the bottom edge to meet the control panel front;
3. Change out all the admin buttons to black; and
4. Install pink vinyl labeling on each button so the users know what does what.

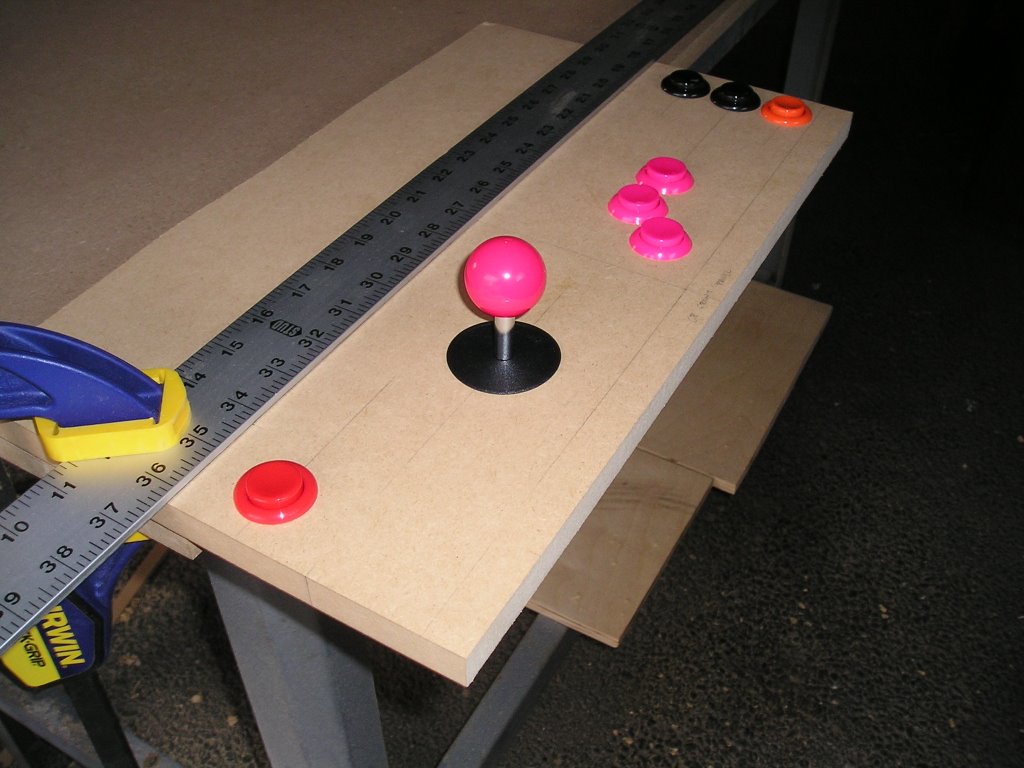
That's about it - I think this new design looks a million times better than the old one. It is designed to play only the vertical classics and I'm not trying to cram a ton of controls into a small space. My hands seemed to be in a comfortable position and all of the buttons are in reach but there's almost no chance of accidentally hitting the wrong one. I'm quite happy with it right now.
Thanks for looking!!
* subject to change.
No comments:
Post a Comment