This was kind of a pain to do and I ruined a few pieces of scrap MDF in order to practice drilling out the various holes required for this task. I want the coin door panel to give the illusion that it does not move but if I cut the panel the exact width of the cabinet there wouldn't be any room for it to pivot. I did a little research and found that "European Hinges" allow for a door panel to span the entire length of an opening (minus 1/16" on either side to allow the door to move). They come in various shapes and sizes.
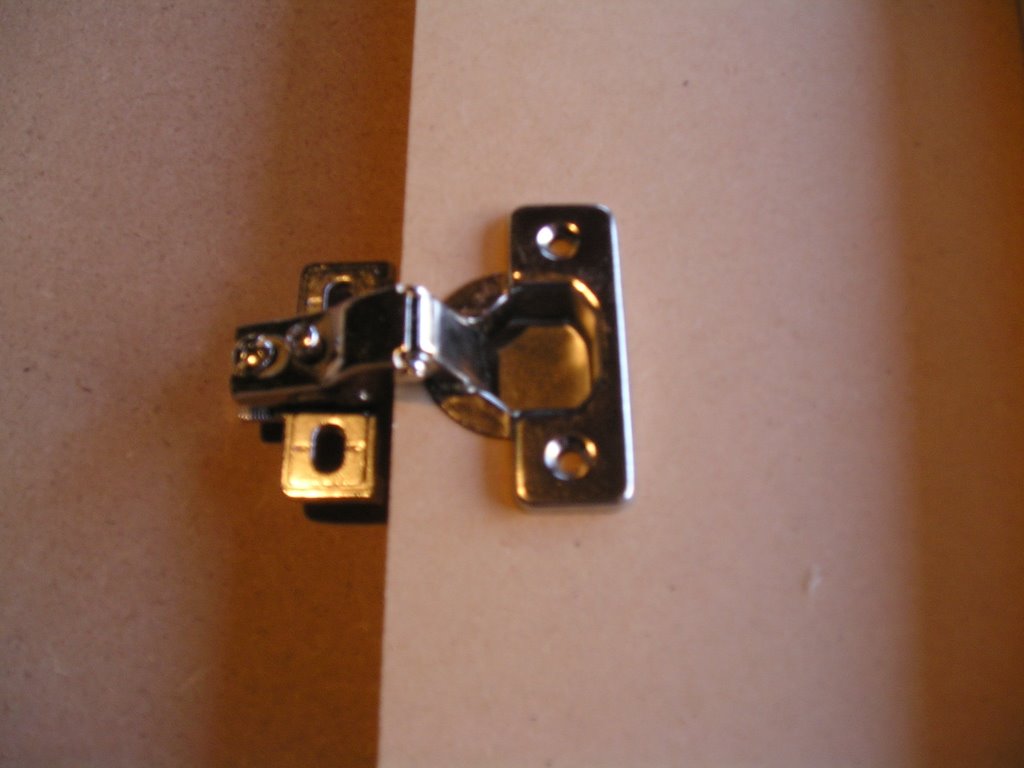
 The European Hinge I ended up using is pictured on the left. It came in two separate parts - one part attaches to the door frame and the other part attaches to the door panel itself. It was pretty easy to install and the instructions included a template which showed where to drill and how to line everything up.
 After I laid everything out using the templates, I had to drill two large holes in the door panel (one for each hinge) making sure not to come through to the other side. I used a 1-3/8" (35mm) Forstner bit to drill the hole and get the results shown and to get the hinge to fit flush in the hole.
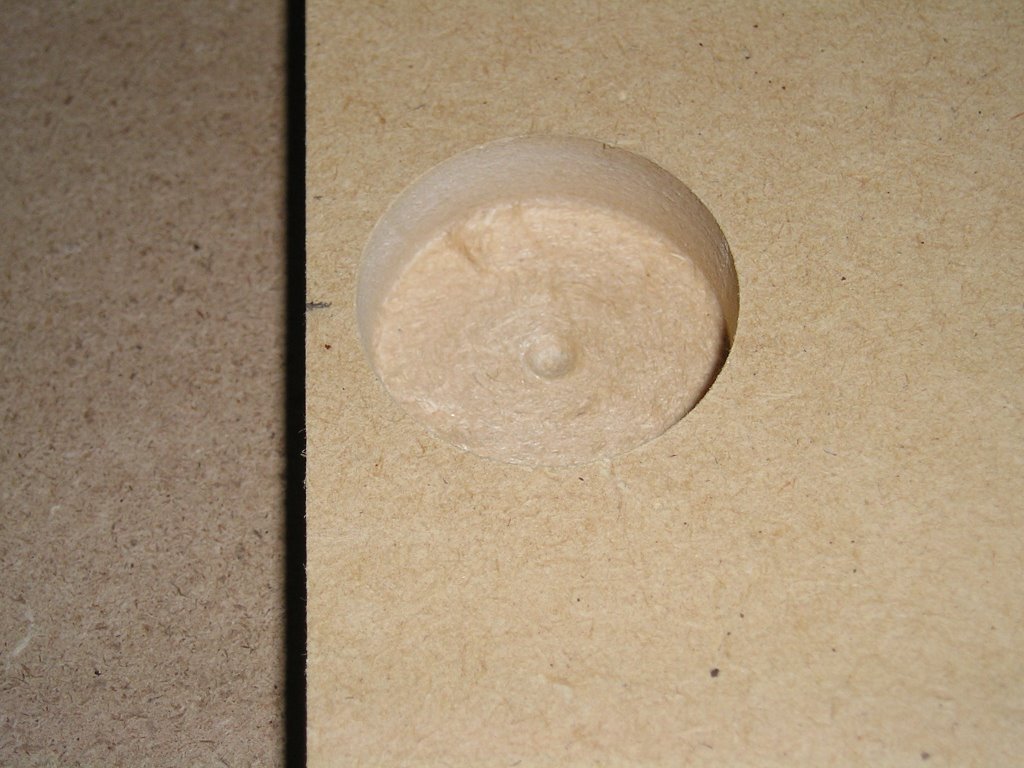
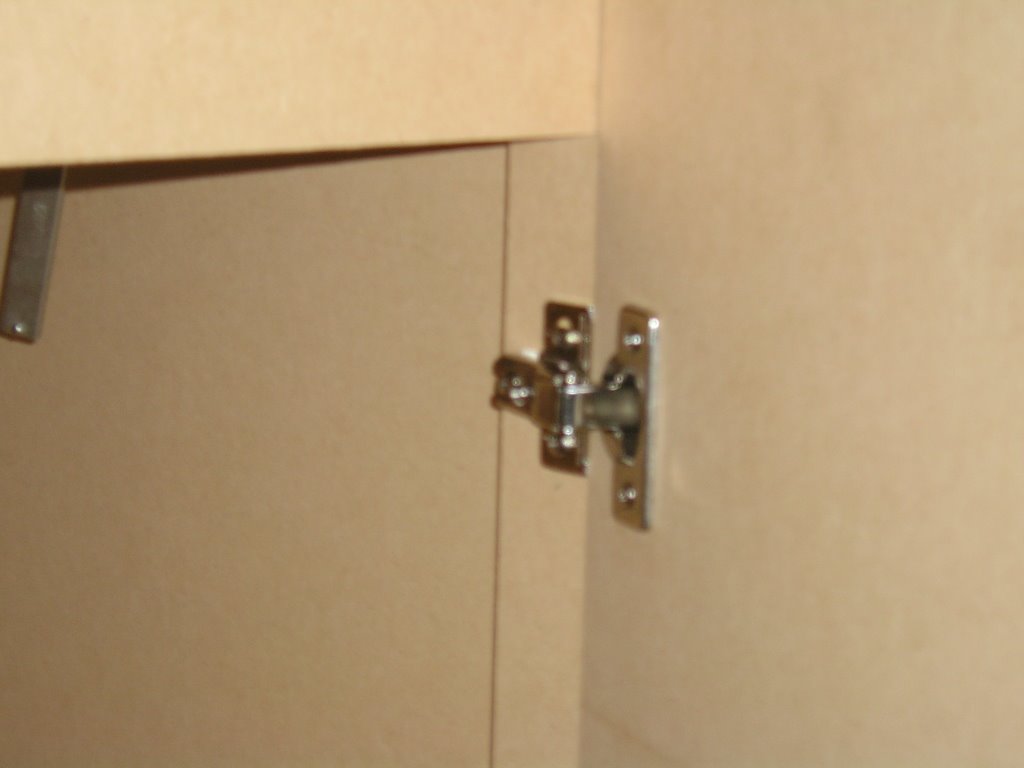
This is what the hinge looks like installed in the panel:
And this is what the hinge looks like ready to be screwed into the frame:

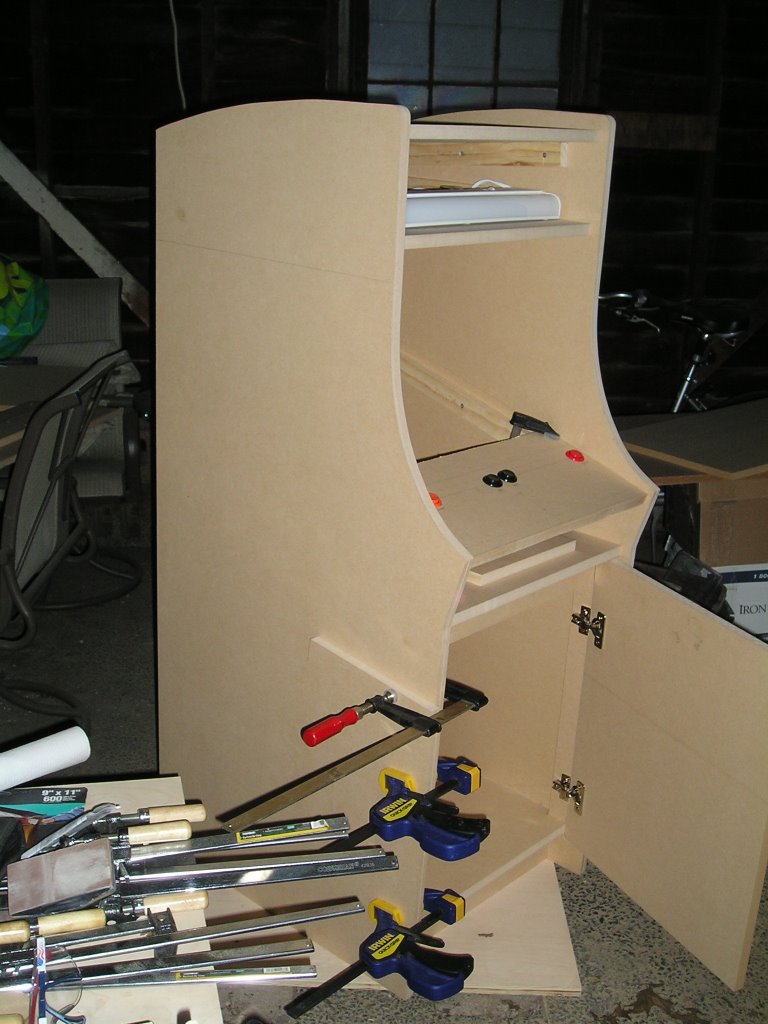
And the final result:
Once the door is hung, all that's left to do is tweak the various screws on the hinge so the door will open and close easily and there is a 1/16" space on either side.
Here are the final pictures of the door on its hinges. The clamps on the left are holding the frame piece in place. In order for the hinges to work I had to install two pieces of MDF on either side flush to the front so the door would have something to close onto and there would be a place to install the hinges themselves.


Whew! That was tough. Note theat I still have to cut out the hole for the coin door but I haven't received it yet and I don't want to cut anything until it gets here.
Thanks for looking!!
1 comment:
Nice job on the door. Those hinges are a bear but they are worth it in the end. i think that you will like the end result.
Post a Comment