Tuesday, May 29, 2007

The "Punch List"

While I'm waiting for the lacquer to fully cure I guess I can turn my attention to some of the finishing details. There are still plenty of things I have to do in addition to the final sanding and polish of the cabinet. I still have to:
  1. Install the speaker covers (and the screw caps)
  2. Install the exterior plug (which involves splicing my SmartStrip so I'm a bit nervous)
  3. Wire the computer power button to a button on the back of the cab somewhere
  4. Install the marquee (cut the retainer strips too) and apply the side art
  5. Make a bezel out of black posterboard/matteboard or something
  6. Install the CP (figure out a way to keep the joystick in place)
  7. Install and wire the coin door
  8. Install t-molding
  9. CONFIGURE THE COMPUTER - this is easily the biggest hurdle for me because I stink.
I'm sure I left some stuff out but all of this can be done in an afternoon so it's really not that much. I'm planning to wake up early this weekend on Saturday and Sunday and sand and polish until noon (or until my arms fall off). I can probably work from 7am-12pm both days. Hopefully I'll get all of the sanding/polishing done on Saturday so I can completely finish everything on Sunday but I'm guessing the sanding and polishing is a two day job so the finishing details will have to wait until the following week.

I can't wait!

Friday, May 25, 2007

UGLY Progress Picture

After I finished spraying the entire cabinet, I couldn't resist temporarily installing all of the remaining parts and snapping a few pictures to get a sense as to what the finished cabinet will look like. I popped in the control panel (which is now a very tight fit due to the black layers of paint), the coin door, the glass over the bezel panel and hung the marquee in place (with a piece of tape). I am not going to install the pink t-molding until I absolutely have to - after the cabinet is sanded and polished.

Jeez it sure looks UGLY. You can totally see the last spray lines from the final lacquer coat - good thing this will all get sanded out in the finishing process. The pink also comes out really white looking from the camera flash and the front and sides look like 2 different shades but they are identical in person. Something tells me I'm not going to be able to get an accurate picture until this thing inside the house and completely finished (taking the picture at night in an unlit garage probably doesn't help either). I wasn't going to share because it really looks bad but I figure that someone else might follow my lead and get to this point and start to panic so enjoy!

Thanks for looking!

Wednesday, May 23, 2007

The Finish: Lacquering Has Begun!

After thinking about it for a while I decided I will be "finishing" the top panel along with the two side panels and the coin door panel in front. When I'm done, all of the visible pink areas will have the super smooth lacquered/polished finish. It is going to be a huge pain to do the top panel because of the two interior corners I will have to sand up against but I've come this far so what the heck. The only panel that will not be "finished" is the back one which will never be seen.

I sprayed on 25(!) coats of lacquer on the cabinet over the weekend. I went through 5 cans of the stuff and probably breathed in more than I should have. This is what I used:

The 25 coats took a while to apply but the good thing is that the lacquer dries to the touch almost instantly so you can recoat after about 5 or 10 minutes. It also bonds to itself so there is no need to sand in between coats to rough up the surface so it will stick. I'm pretty confident it has a thick enough layer so I can sand it smooth but not sand through to the paint.

When the time comes, I'm going to strictly be wetsanding with 1500 grit sandpaper - I'm not going to be working my way up to it or anything because I don't want to remove too much of the lacquer. Now comes the hard part - waiting. I need to give it two weeks for the lacquer to fully cure just to be safe but I really really really want to finish everything this weekend since we have the holiday and everything. Argh!

Tuesday, May 22, 2007

The Finish: Lacquering Prep Work

The next step is to apply the lacquer over the final coat of paint. I spent an hour prepping the cabinet by masking off all of the areas that I didn't want the lacquer to get into with some newspaper and painter's tape. I also bought some cheap drop cloths to cover all of the tools in my garage where I was going to spray the lacquer because I didn't want to ruin anything. It would have been nice to spray outside but the pollen from the trees and the dust and everything from neighbors cutting the grass would be more likely to stick to the wet cabinet so I had to keep it in the garage.

This is what it looked like all taped up:

Next up: Applying the lacquer!

Stay Tuned!

Monday, May 21, 2007

The Finish: Final Coat of Pink and Sanding

Over the weekend I began the final sanding and applied the last coat of pink paint. I ended up putting on 6 total coats with a 4" foam roller and sanding after applying coat #2 (with 220 grit) and coat #5. For the sanding of coat #5 I started with 220 grit and got it fairly smooth and then moved up to 600 to try and really get it nice and flat and remove all of the "orange peel" left by the roller. I had planned to take it all the way to 1500 but I think 600 is good enough and that would have been overkill (kind of like this entire process but that's another story).

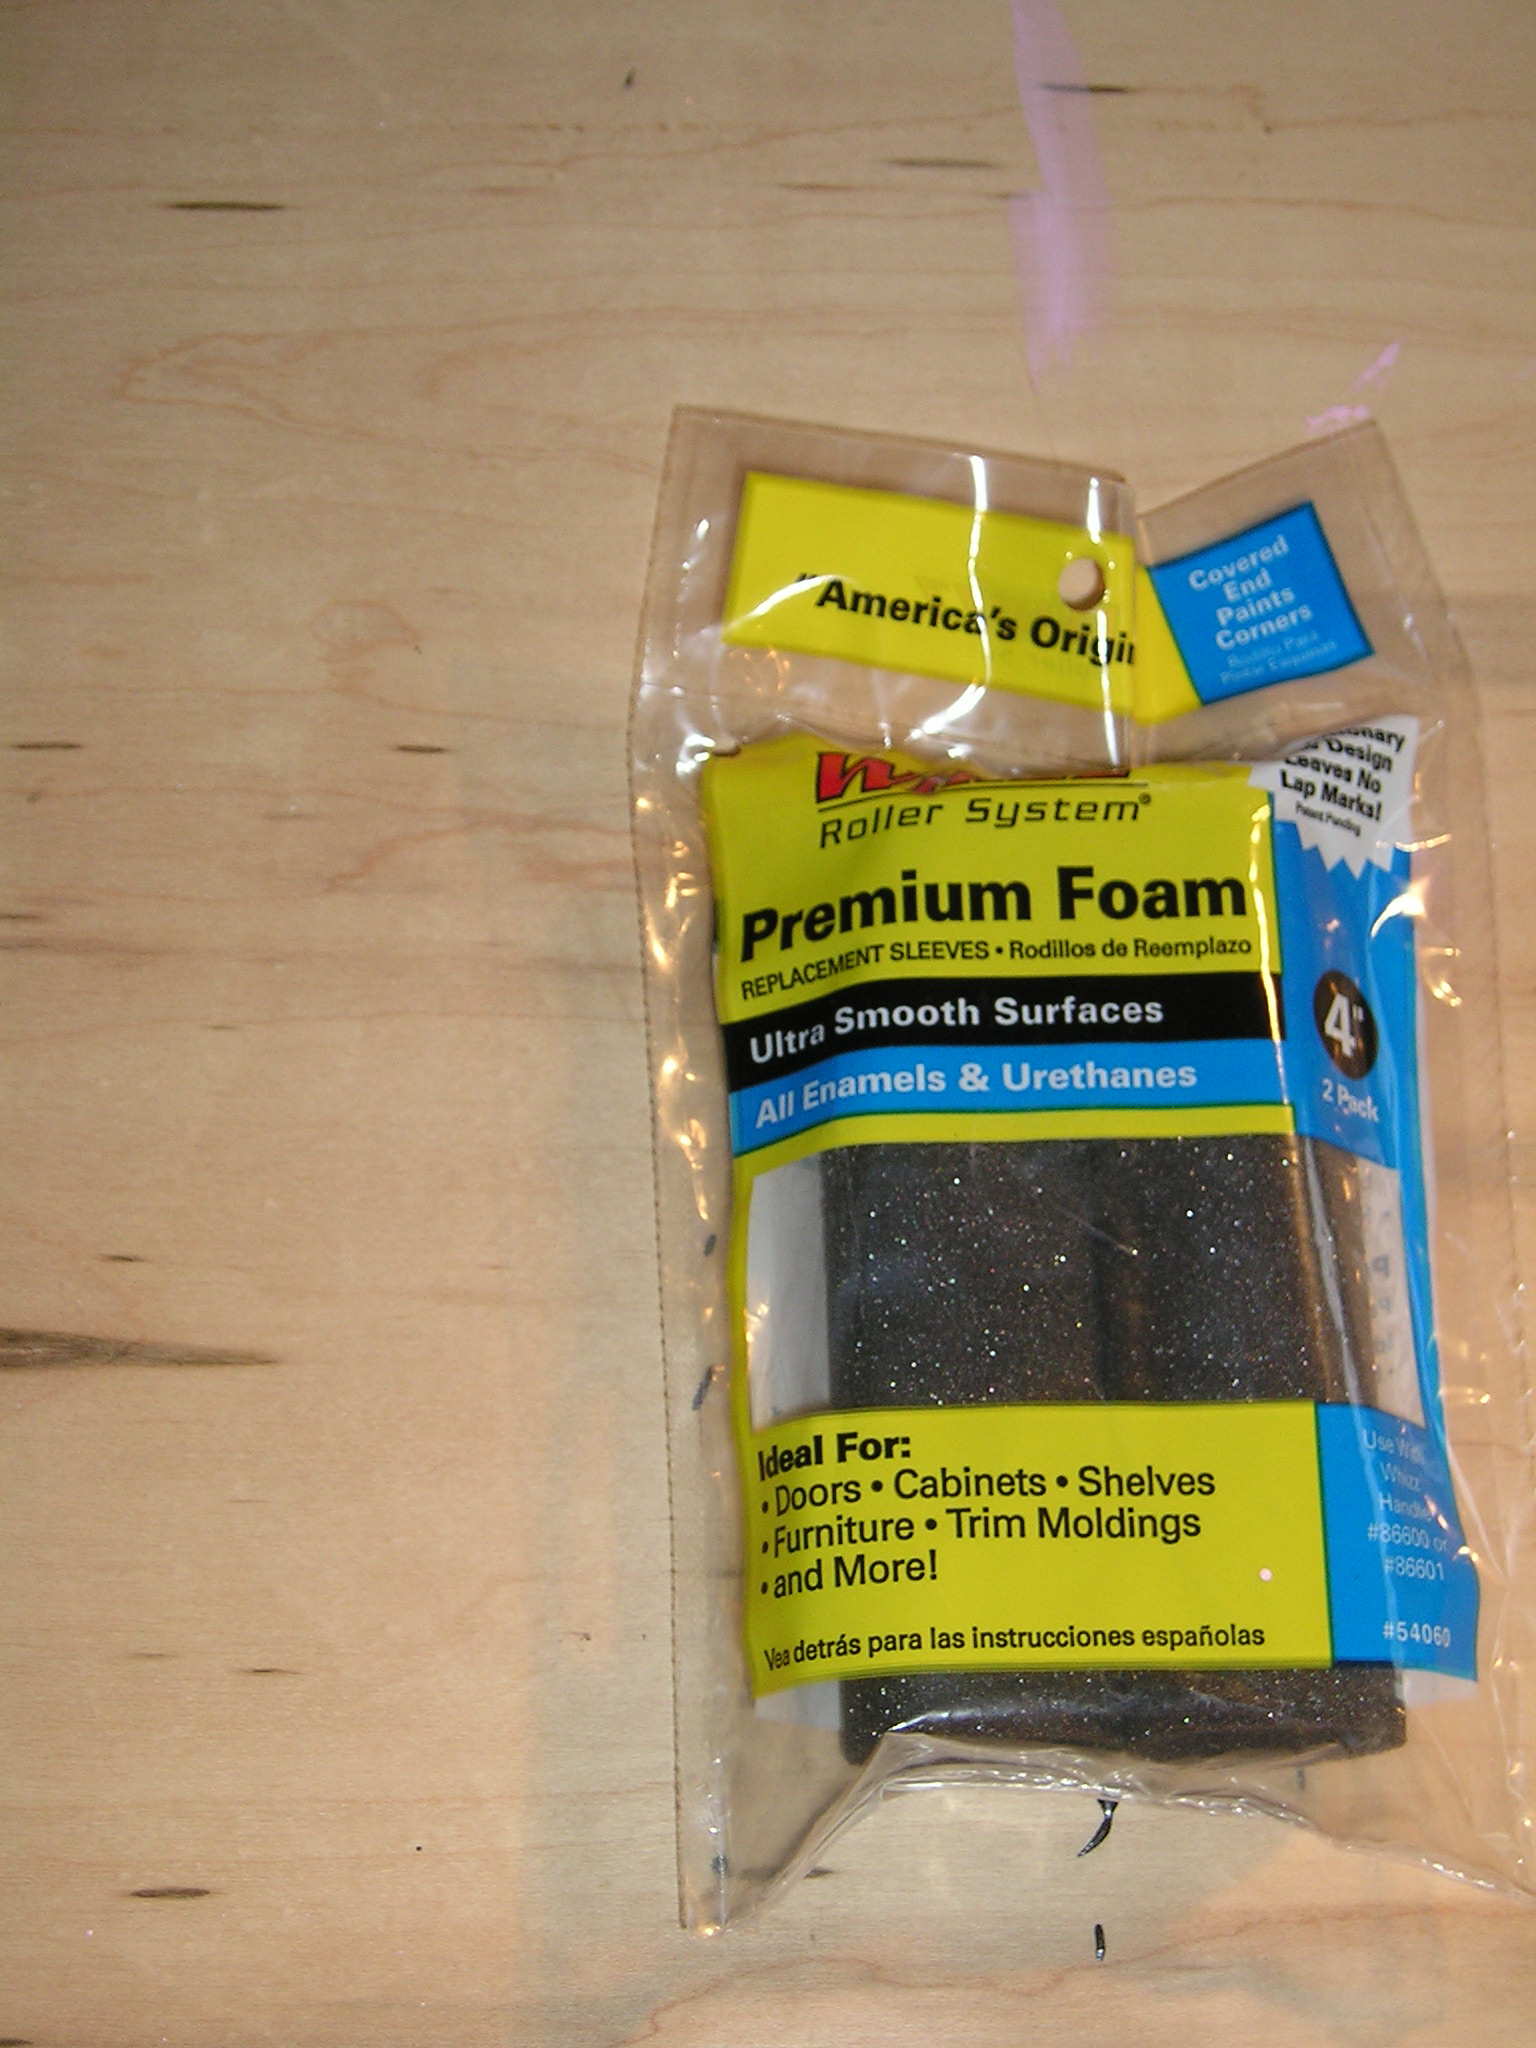
After I finished the sanding I added one more thin layer of pink paint before applying the lacquer. I know some people suggest sanding the pink smooth and applying the lacquer immediately afterwards but I just don't trust that the color will be vibrant enough. The sanding really dulls everything. Besides, the test panels I made came out great and I sanded, then applied the final coat of paint and then lacquered so I think I'll be OK. The roller I used is pictured - the brand name is Whizzer. They are really great and I've tried a bunch of different types and these seem to give the best results (little to no "orange peel" and no air bubbles).


It took me way longer than I anticipated to do that final sanding. I kept thinking "when you think you've sanded enough, sand some more" so I probably went over the entire thing 4 or 5 times with the 220 grit and then another 4 or 5 times with the 600 grit. My arms were about ready to fall off.


After the sanding process was finished, I used a tack cloth to remove the dust and get the surfaces ready for the final coat of paint. Everything was VERY smooth at this point so the final coat of paint went on very even - it looks great as it is right now without any lacquer so hopefully the lacquer will come out nice and take this thing to the next level.

Thanks for looking!!

Thursday, May 17, 2007

The Monitor/Bezel Glass

I finally got a chance this past weekend to go and pick up the glass I ordered to cover the monitor and bezel area. The glass shop is only open during the week and I took Monday off to do some chores and stuff around the house so I was able to go pick it up.

I ordered a 3/8" thick tempered piece of GRAY tinted glass. The gray tint actually enhances the colors of the monitor and makes the edges of the graphics look sharper. It's hard to explain but if you've ever seen the difference up close it's a no brainer - gray tinted glass is the way to go.

Here's a shot of the glass:


And here's a shot of it laying in its place (don't mind the little cork squares on the bottom - they are only there for protection right now). The fit is unbelievable - I really did a nice job (surprisingly) with making everything square and level. The glass goes right up to the edges on all 4 sides and I know it is square because that's what I ordered.


Thanks for looking!

Wednesday, May 02, 2007

It's PINK!!!

I finally got a coat of pink paint on the cabinet! It is coming out VERY nice - you can hardly tell the paint was rolled on. There are virtually no "orange peel" marks on the surface. I plan on applying 3-4 more coats of pink paint before moving on to the insane finishing process which consists of spray lacquer, 1500 grit sandpaper, rubbing compound and polish.

More pics are coming soon but here's a teaser:

Thanks for looking!!