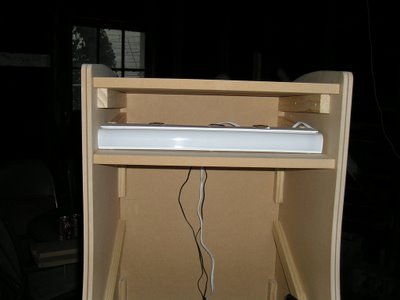
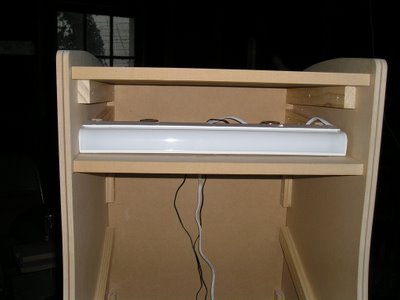
Anyway, I made sure to cut the marquee top panel so it is flush with the back panel and is lined up with the bottom marquee panel as close as possible. The marquee retainer will eventually cover the ends of the MDF and frame the marquee.
That's really all there is to it. Here are some shots of what the upper part of the cabinet will look like once everything is glued in place.


Tips:
1. Make sure that you do not install the interior wood strips so the ends are flush with the ends of the marquee panels. If you do that it will create 4 square shadows in the corners behind your marquee. This is actually a tip that should have been given a while ago but better late than never.
2. Try to make everything as flush as possible. Light will escape out of any gaps where two pieces of MDF come together. I am going to line the inside with aluminum foil or something shiny for maximum reflection and to also seal any gaps that might let light out.
Thanks for looking!
No comments:
Post a Comment