 Yikes. I ordered the monitor today from Dell. I decided to buy a refurbished one because they no longer sell (relatively) cheap LCD monitors with black trim. They come in silver now and I don't want the trim to be noticeable at all so that just wouldn't work. I'm a little nervous ordering a refurbished monitor because it only comes with a 90-day warranty instead of the 3 year warranty on new ones.
I do save $30 though and from what I've heard if a refurbished monitor lasts a week with no problems it will probably last just as long as a new one. It is pictured to the right.
Anyway, here's the updated breakdown so far:
Bought:
MDF: $35.00/4'x8' sheet x 2 sheets = $70
Screws: $5.98/box x 1 box = $5.98
18" flourescent light (for behind marquee): $8.97
Wood support strips: $0.97/foot x 12 feet = $11.64
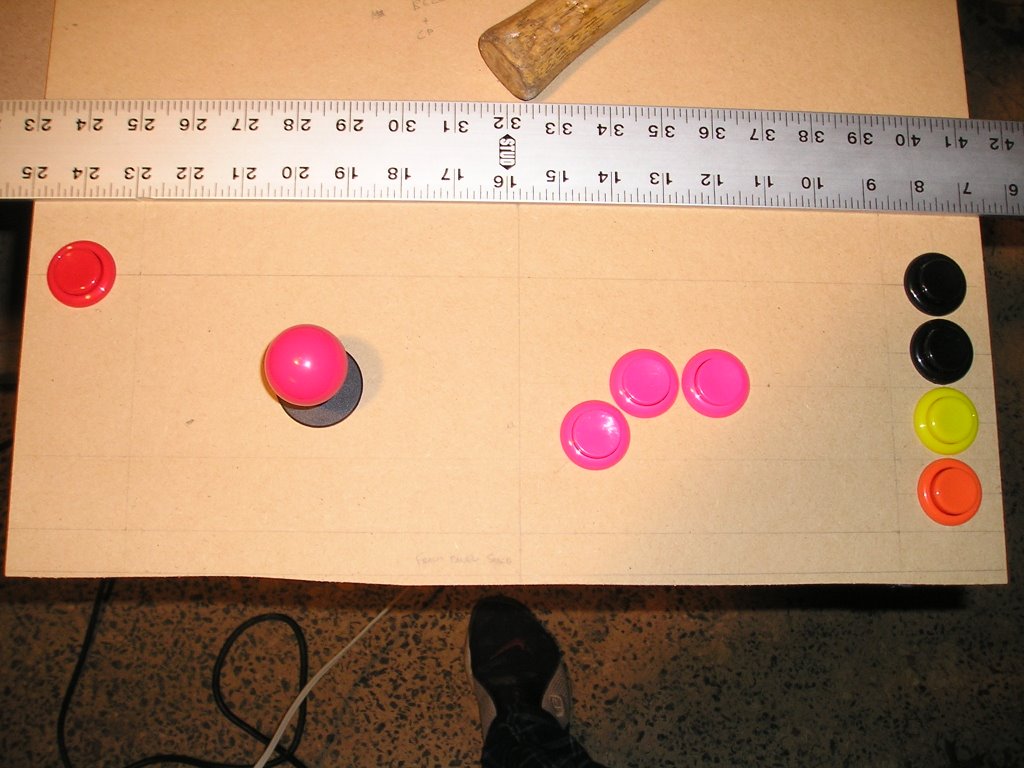
3 buttons, balltop joystick, t-molding from Dream Arcades = $32.75
Smart Strip power supply = $37.31
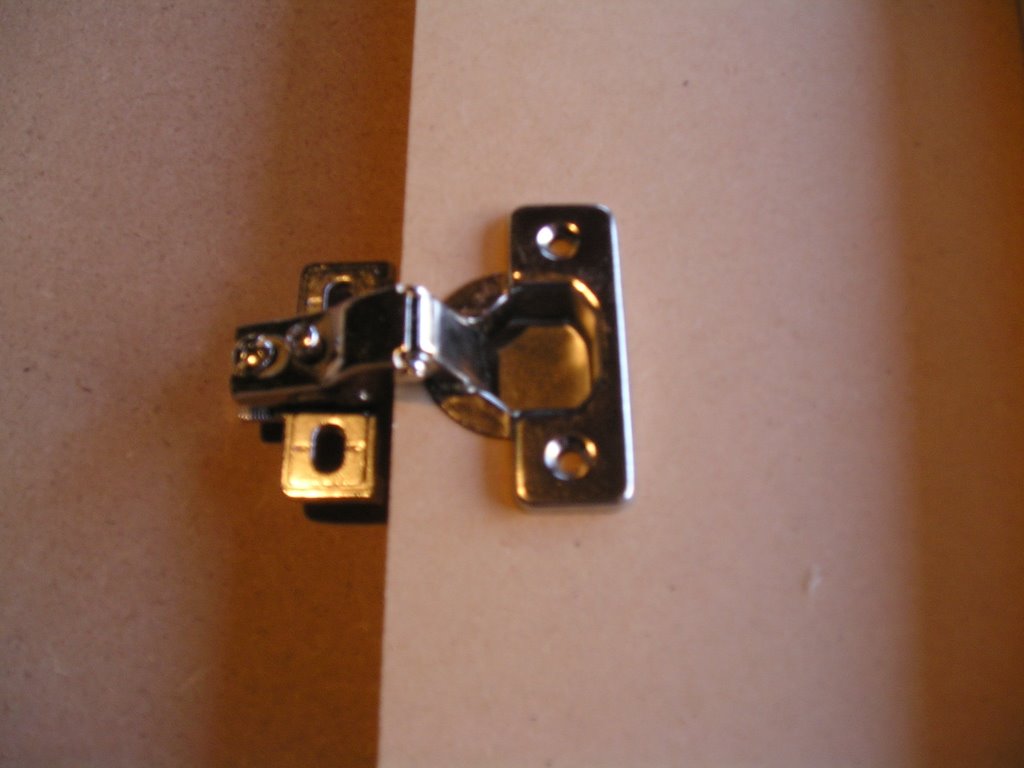
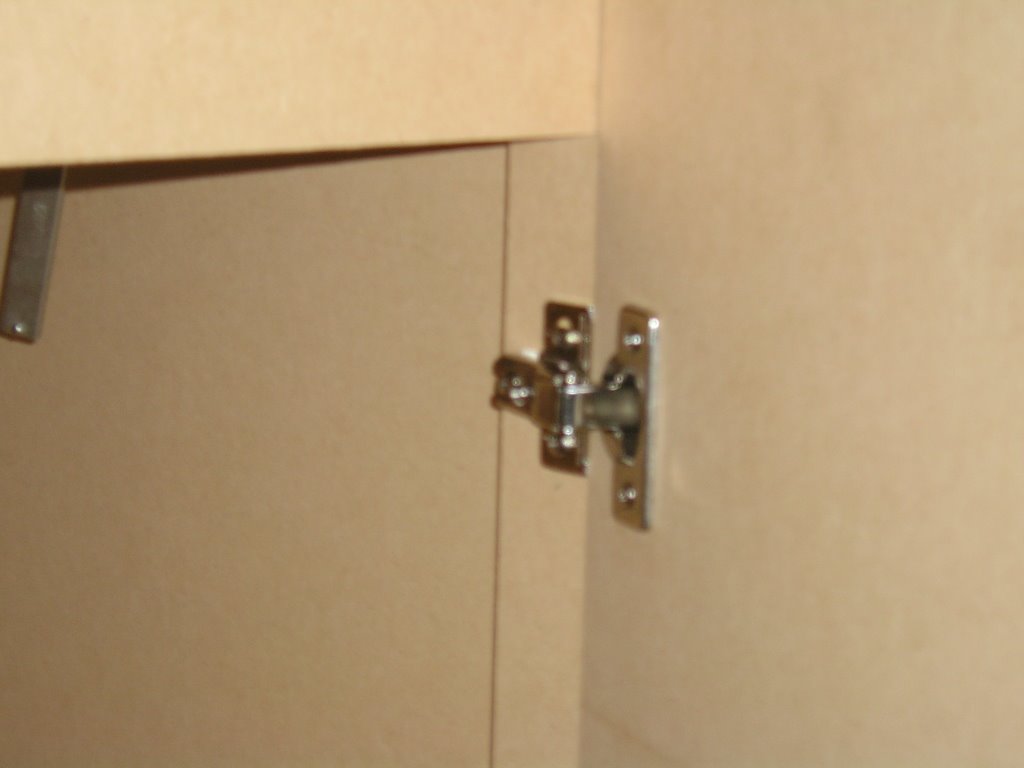
Hinges and magnetic clasp = $8.43
Ultimarc 360 Joystick = $59.00 (+$14.00 shipping)
Ultimarc Encoder Harness (for button wiring) = $8.00
Ultimarc Restrictor Plate (to shorten joystick throw) = $14.00
Ultimarc Hard Spring (to tighten joystick movement) = $5.00
Computer Speakers (2.1) = $21.39
Happ Small Single Coin Door = $59.95 (+$17.00 shipping)
Happ six (6) black buttons with microswitch @1.35ea. = $8.10
Happ 60" Marquee Retainer @$5.00 per 30" = $10.00
Four (4) Speaker Grills from Chokes Unlimited = $10.84
Dell 19" LCD Monitor E197FP (refurb) = $189.00 (+13.23 tax)
TOTAL so far: $604.59
To buy:
Marquee
Primer/Paint/rubbing compound (for finish)
1/4" Glass (to cover monitor)
Black Posterboard (for bezel)
I'm getting close to acquiring everything I need! Too bad I completely blew my $500 budget but I'm very pleased with the way things are coming along so far.
Thanks for looking!!


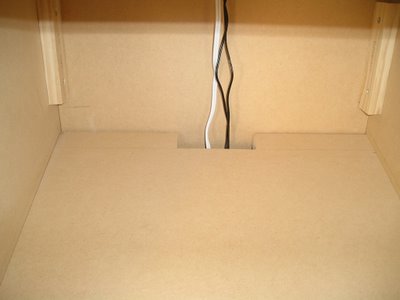
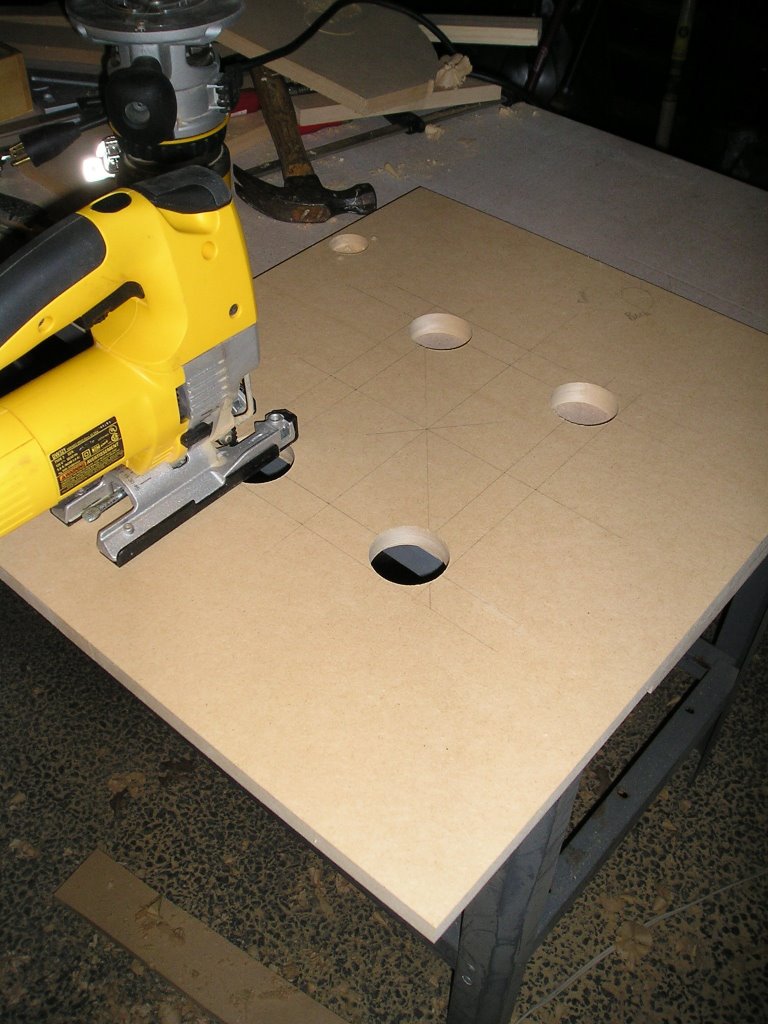
 A while back I installed strips of pine on the interior of the cabinet so I would have a place to rest the bezel panel (which is also on the same plane as the control panel). However, after assembling the cabinet and placing a sheet of MDF in place where the bezel panel and control panel would go I realized that I hadn't allowed space for the black cardboard bezel and glass that would eventually cover the monitor.

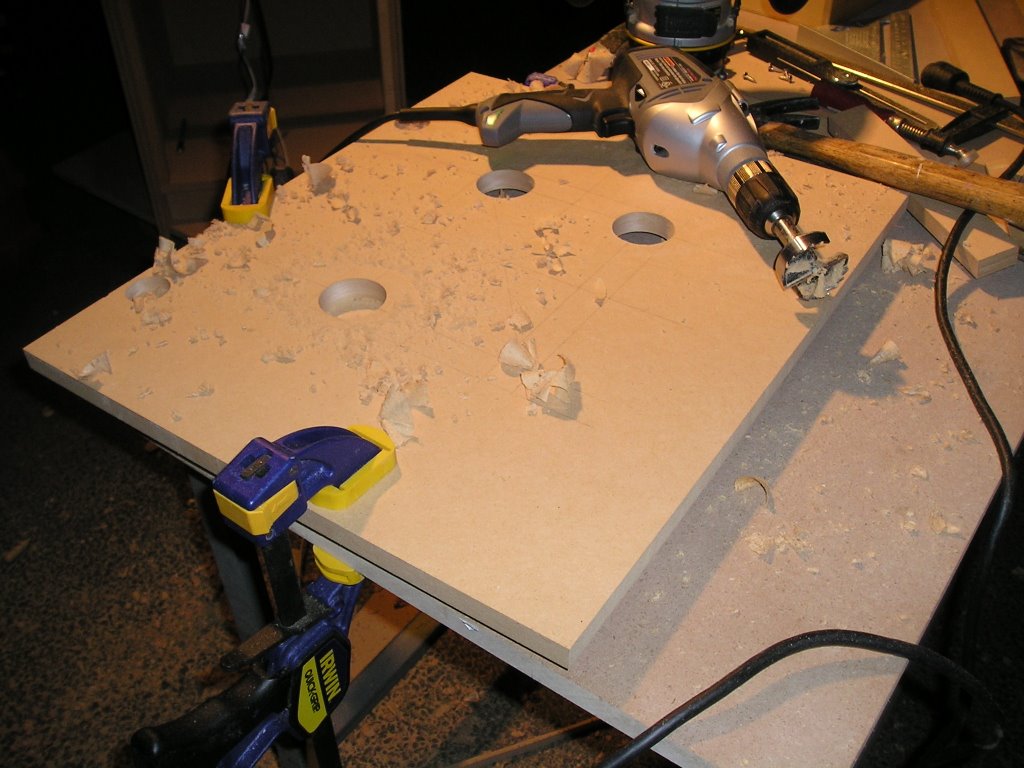
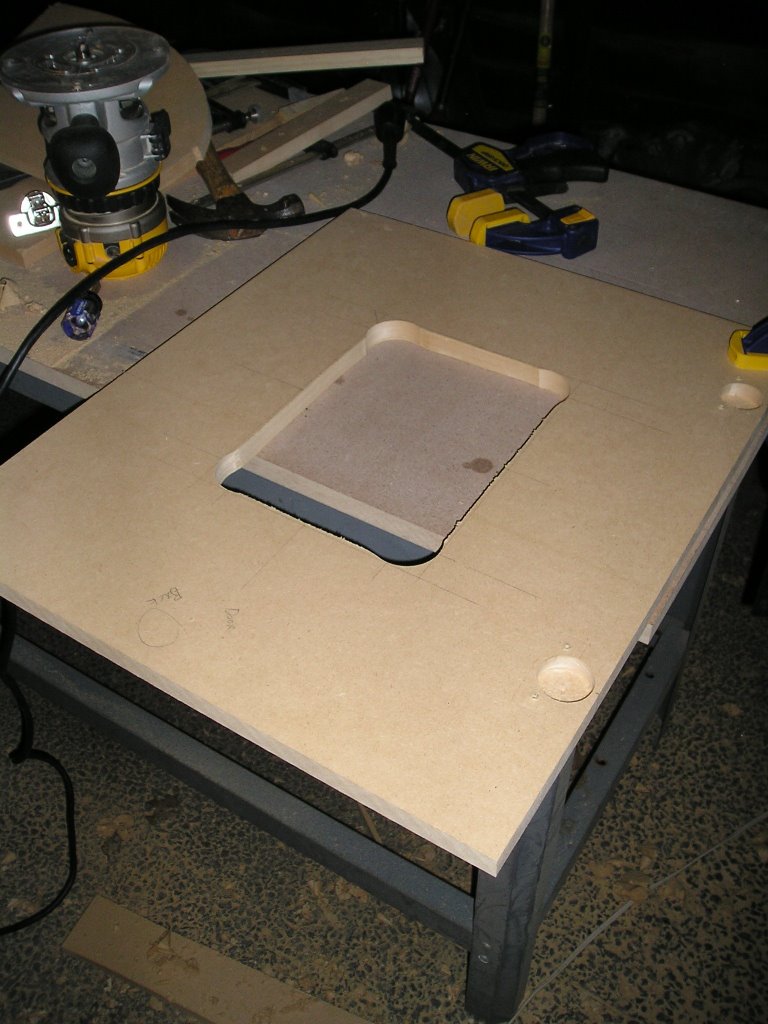
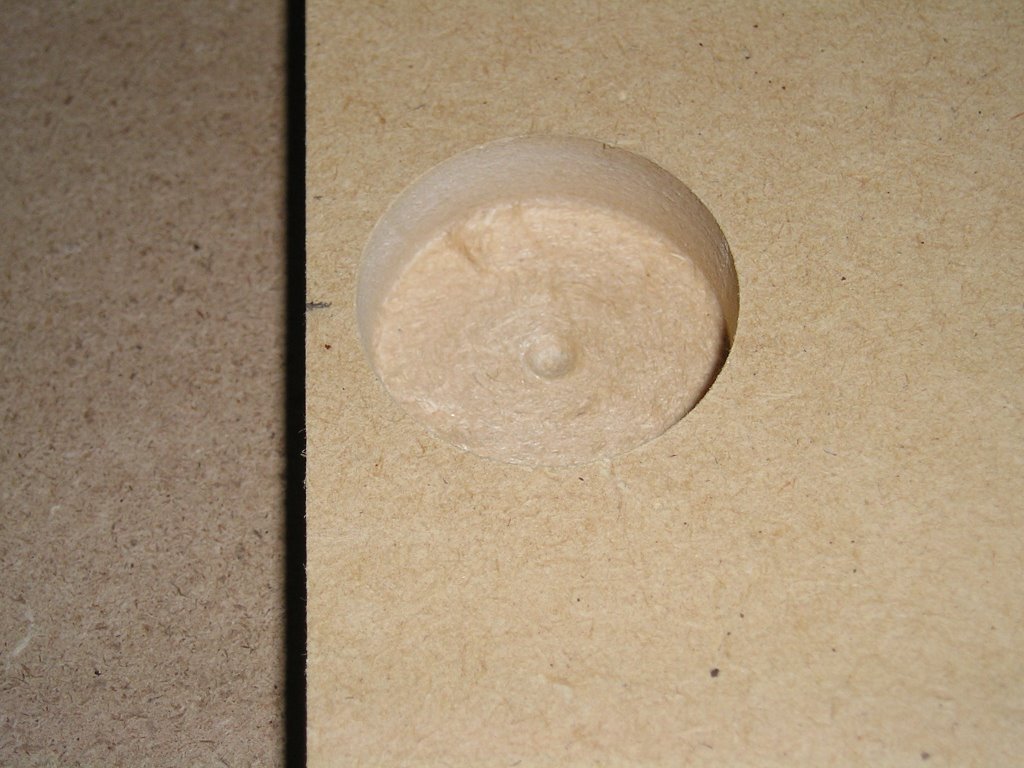
 The next picture is a close-up of the front of the bezel panel with the rabbit I made in the front which the control panel will sit on. It is also 3/8" deep and as you can see removing 3/8" from the top and bottom of a 3/4" sheet of MDF completely removes the corners. This gap will be covered though so it's not a problem or anything.
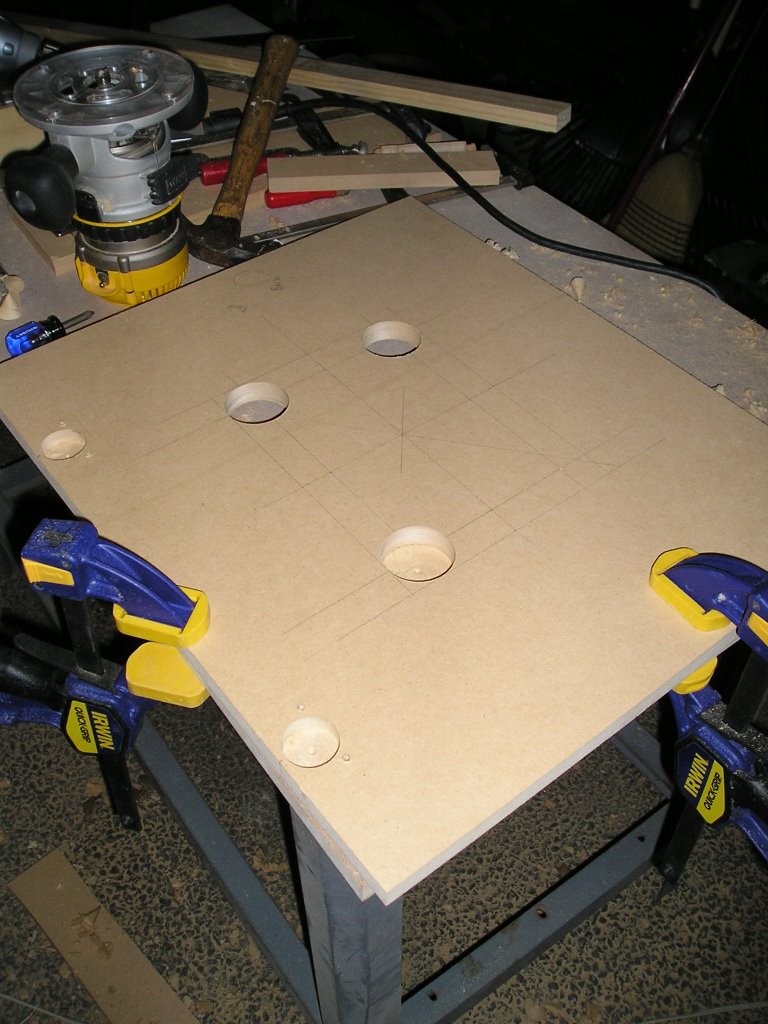
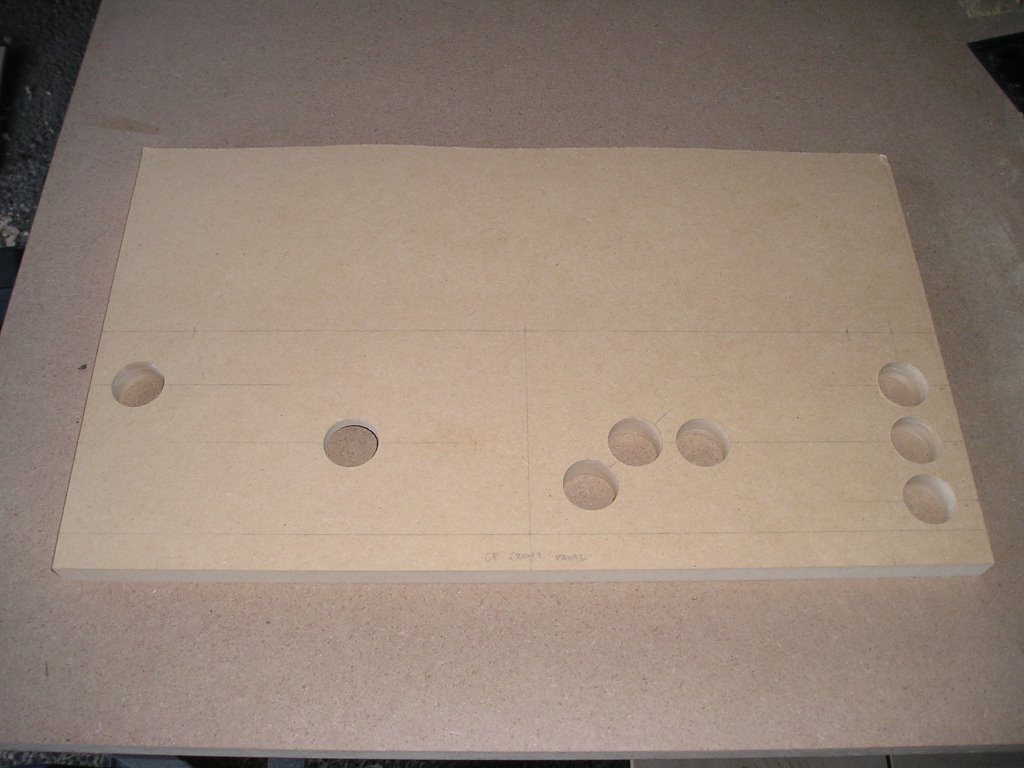
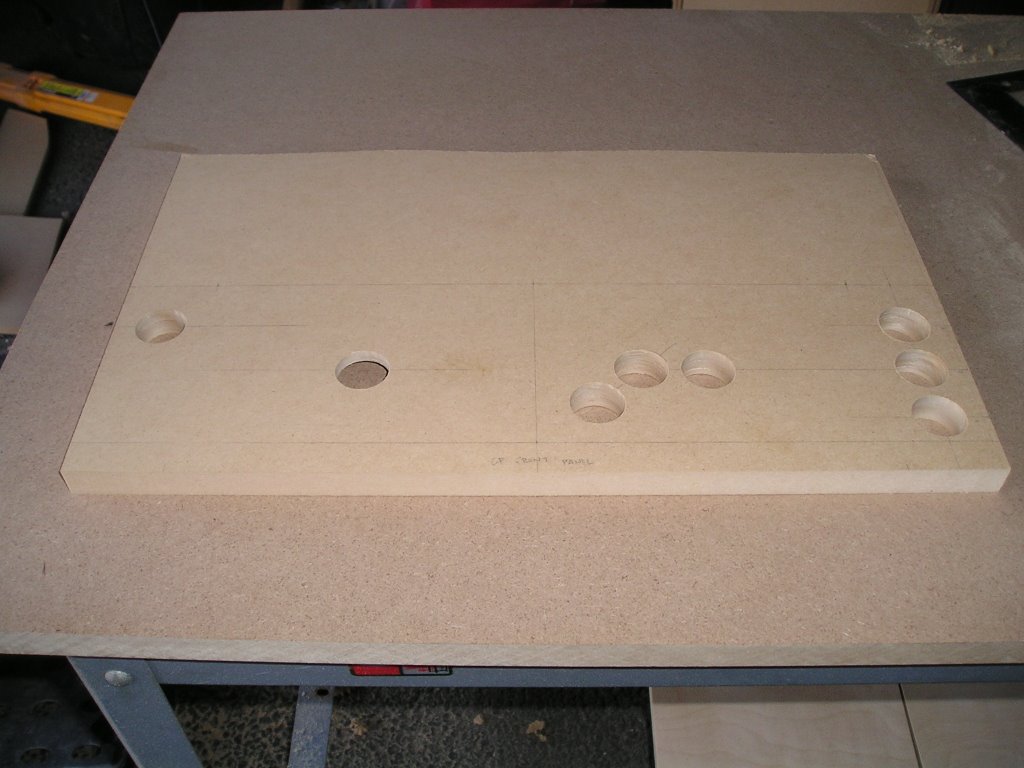
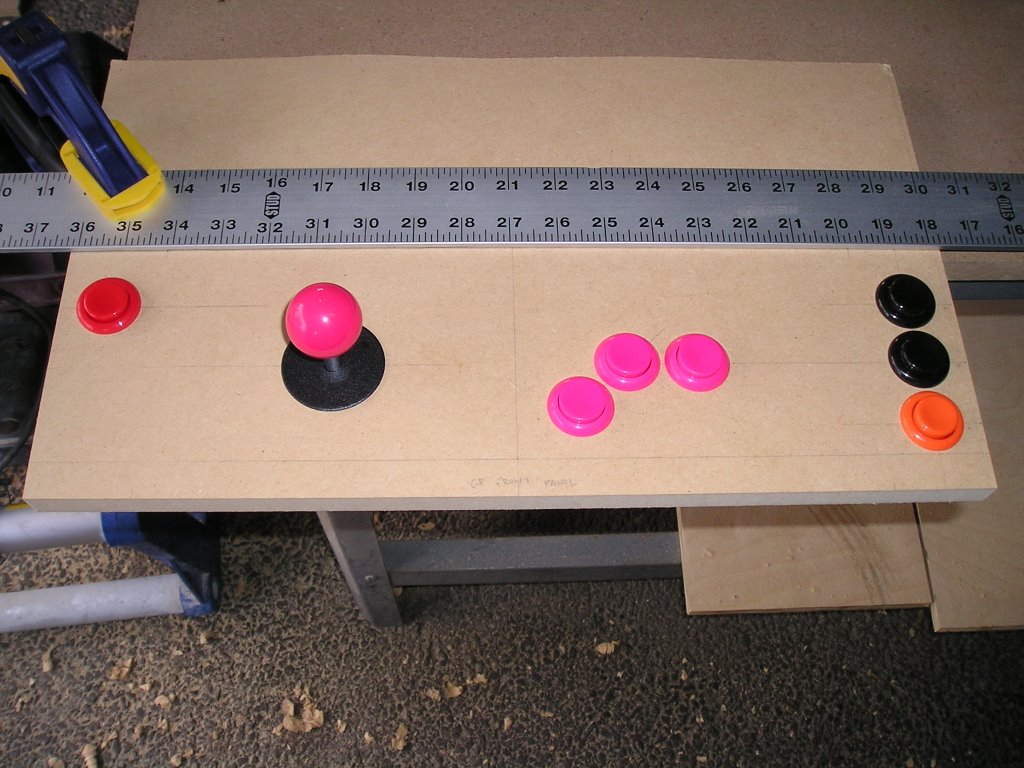
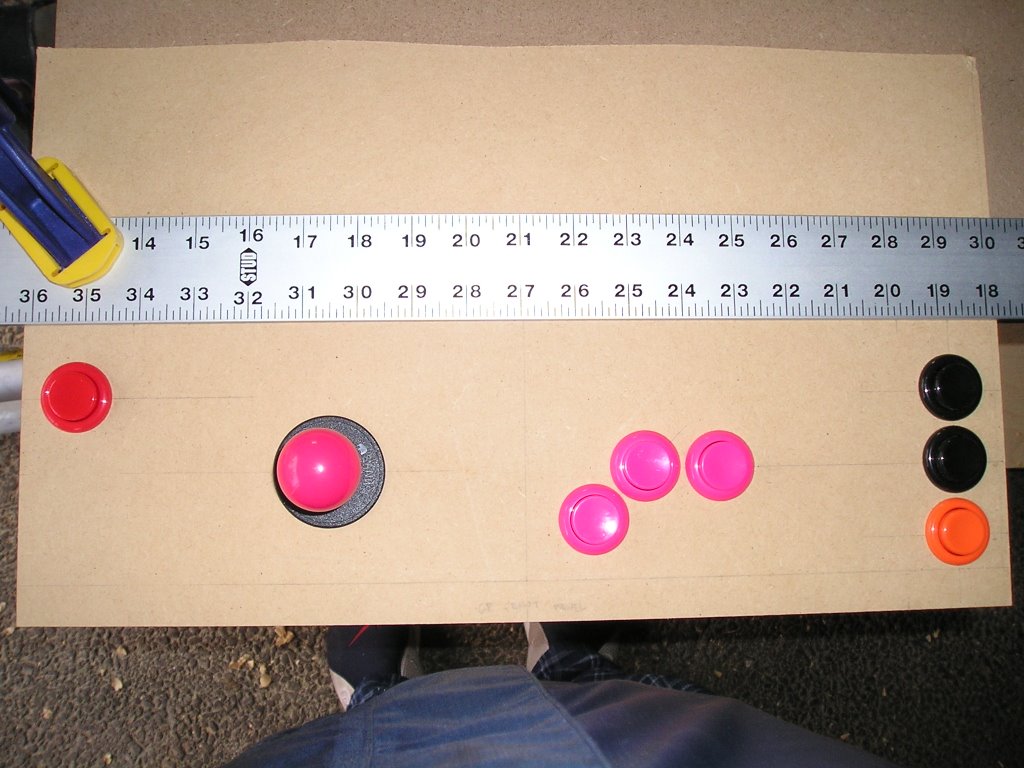
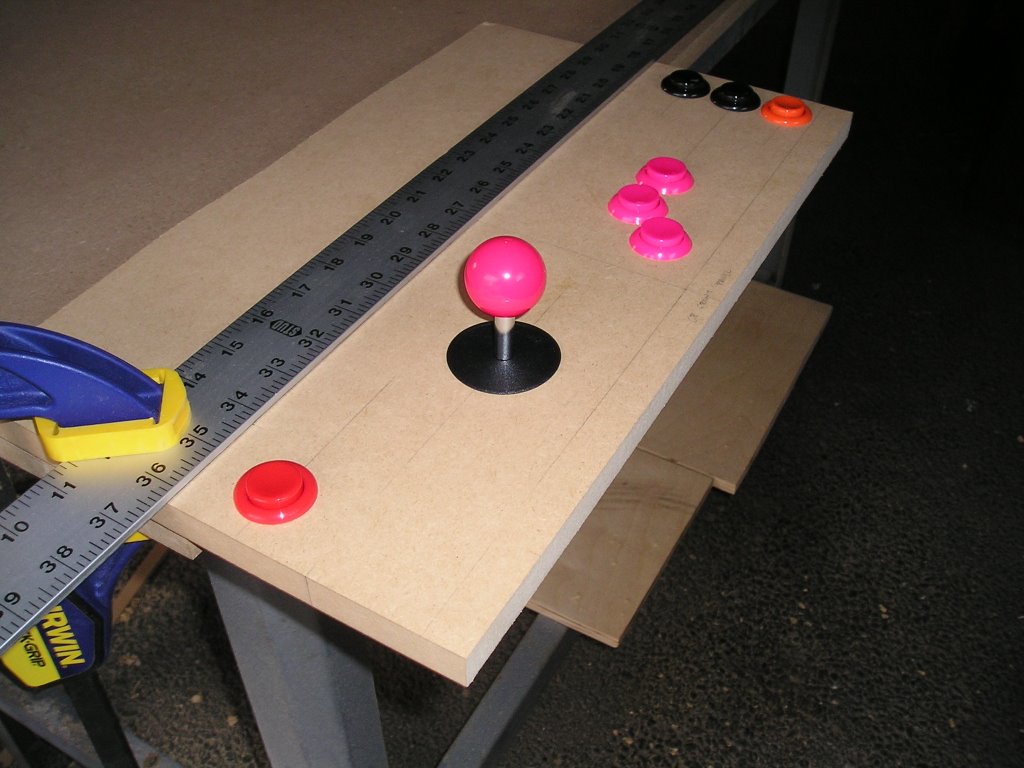
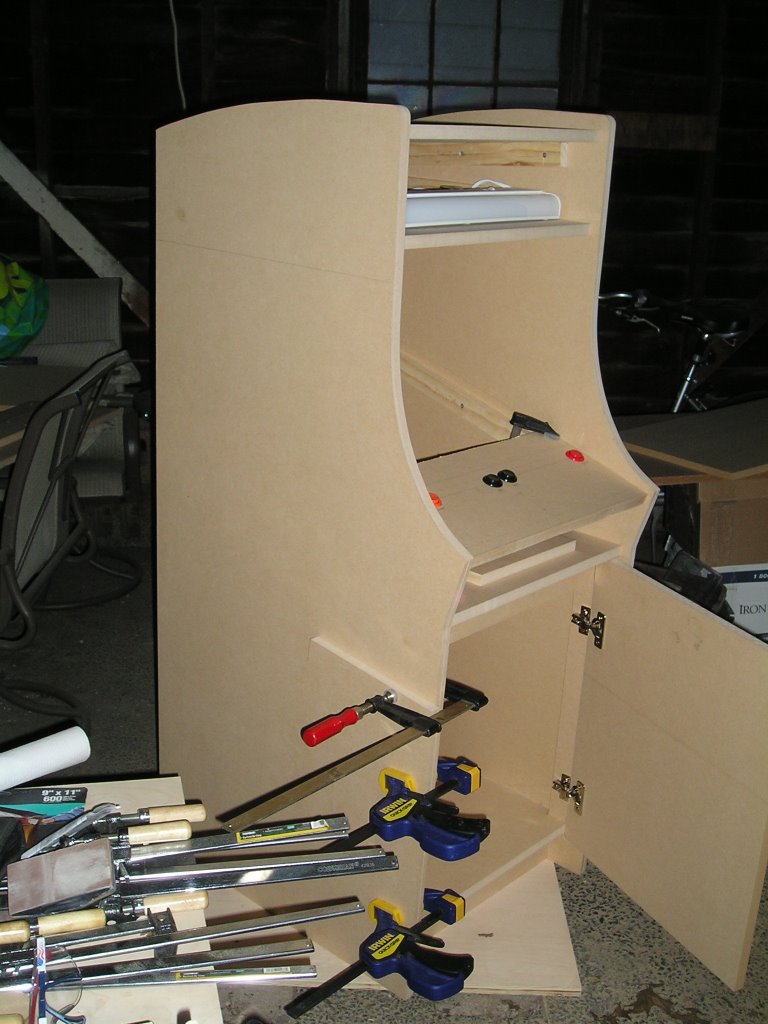
 Finally, these last shots show what the final installed control panel will look like as well as the lip that will support the cardboard bezel and glass that covers the monitor.


 Thanks for looking!!
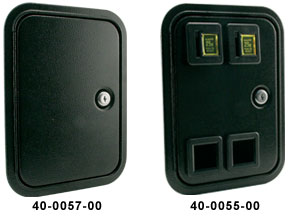


