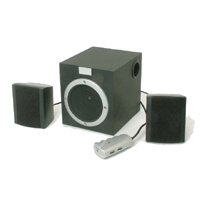
Installing the speakers was a little tougher than I anticipated (just like everything else). I thought it was going to be a 20 minute job but it ended up taking well over an hour. I bought a set of cheap 2.1 speakers from CompUSA to put in the cabinet. Most older arcade games have very primitive sound so this is more than adequate to recreate the authentic arcade experience.
I already had the holes cut out in the panel where the speakers were going to be mounted. The holes are 2.5" in diameter and the speakers are 2.0" in diameter. I ended up removing the speakers from the casing for installation but I still used the front panel of the speaker casing to secure the speakers in place.
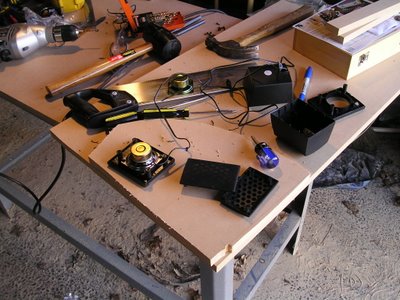
As you can see from the picture, I totally destroyed the brand new speakers I bought. First, remove the front cover. This pops off quite easily to reveal 4 screws holding the casing together. Next, using a thin screwdriver remove all 4 screws which will separate the flat front piece from the large plastic piece that encases the speaker. Save the screws! I used them to secure the speakers to the cabinet. Be careful here though. The wire that is attached to the actual speaker is also attached to the back casing and you don't want to break anything. The trick here is to make a big hole in the back casing so the wire and fit through and be removed. I used a saw to cut a groove in the back and then jammed a screwdriver inside and twisted it around until I had a hole big enough to get the wire through.
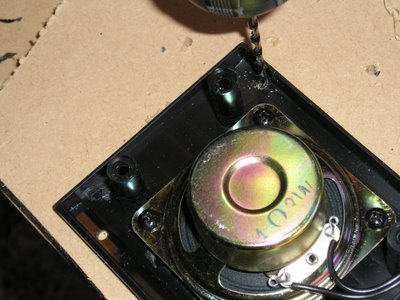
Once the speaker is out of the casing you should be left with the speaker attached to the front panel and the long wire coming off of it as shown in the picture above. The next thing I did was drill 4 holes in the front panel in order to secure it to the speaker cutouts in the cabinet. In the above picture you can see the drill on the top and one of the holes I drilled on the left- I drilled a hole in each corner the exact size of the screws I saved when I took the speakers apart.
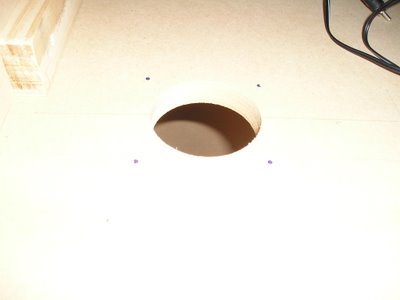
After you have all 4 holes drilled out, put the speaker in place and make sure it is lined up from underneath. Then use a pencil to mark where the screws are going to go and drill pilot holes. Finally, screw the speakers in place!
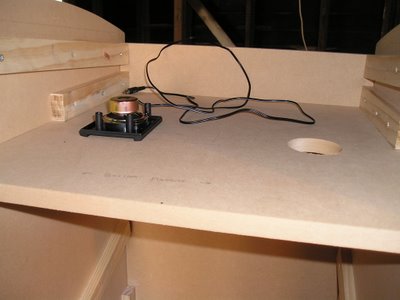
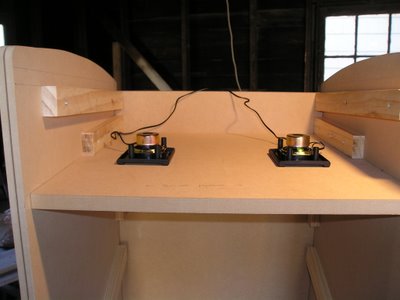
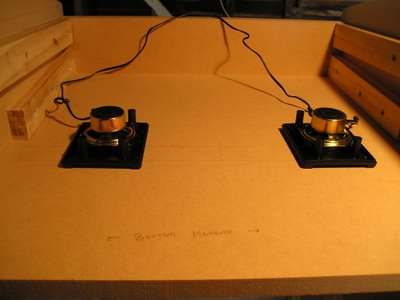
That's all there is to the speaker installation however you need to do something with the speaker wires - they need to connect to the bass tube which will be located at the bottom of the cabinet. and they can't hang out over the back! This "problem" has a simple solution - I drilled a 1-1/8" hole up against the back panel of the cabinet so the speaker wires could fit through and drop down to the bottom. I also made sure the hole was wide enough to accomodate the power cord for the marquee light that will be installed in front of the speakers because the power strip is also going to be installed in the bottom of the cabinet.
That's all for now!
Tips:
1. Go slow and be very patient when taking the speakers apart. I actually ruined one because I was rushing to finish (good thing I had a spare from an old project).
2. When drilling the holes in the plastic casing make sure everything is secured to the work bench or you are holding on very tightly. Drill slowly.
3. Test everything on scrap MDF. Before I did anything to the cabinet I secured one speaker to a some scrap MDF just to see if it would work properly.
Thanks for looking!
No comments:
Post a Comment