
The first thing I did was plot out the design onto the surface of one of the MDF sheets using a pencil and t-square. The curves were made using a string tied to the end of a pencil to act like a large compass. Once the shape was drawn as well as all of the interior panel lines so I know where everything is going, I cut out the cabinet side using my jigsaw. I did it freehand and tried to stay about 1/8" outside the line all the way around. When that was finished I used a straight edge and a pattern cutting bit in my router to make the straight edges perfectly straight. To cut the smooth curves I was very careful with the jigsaw and got as close to the line as I could taking my time as I went. Then I used a sanding block to sand to the line and make a smooth curve.
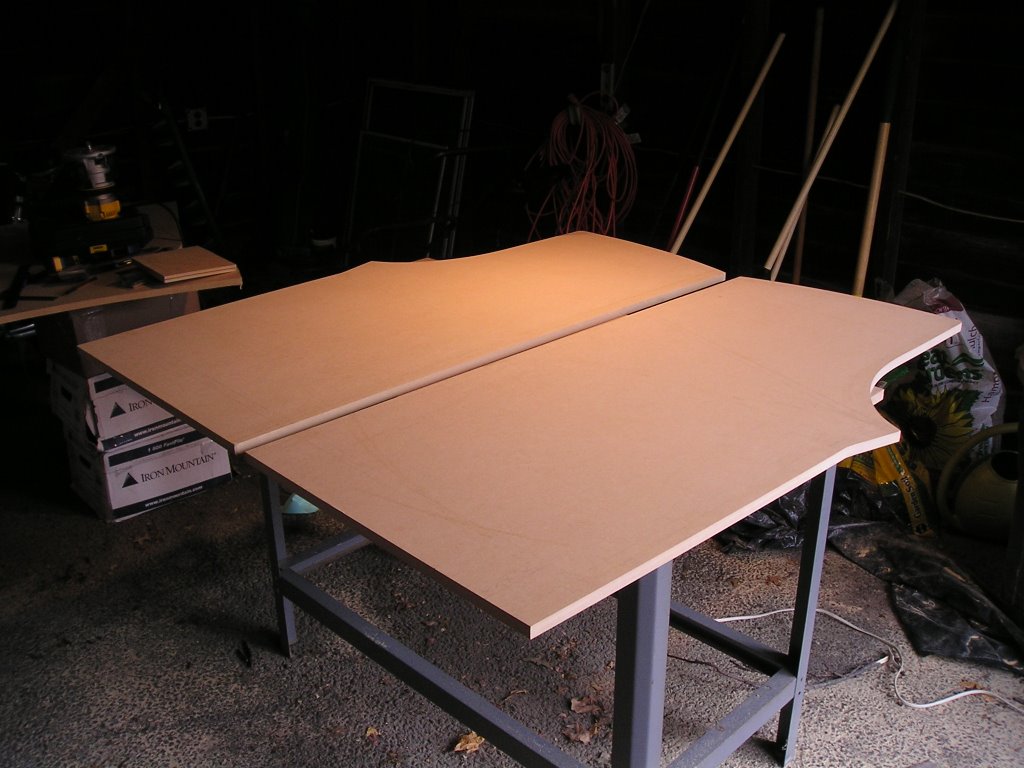
Once I finally had one side to the cabinet cut out, making the second one took about 20 minutes. I placed the good side on top of another piece of MDF and traced it with a pencil. Then I cut it out with the jigsaw to get a rough shape. Next, I clamped the original to the rough cut piece and used my router and pattern cutting bit to make a perfect match! Finally, I transferred all of the interior lines to the second piece (on the opposite side, of course since the two pieces should be mirror images of each other).
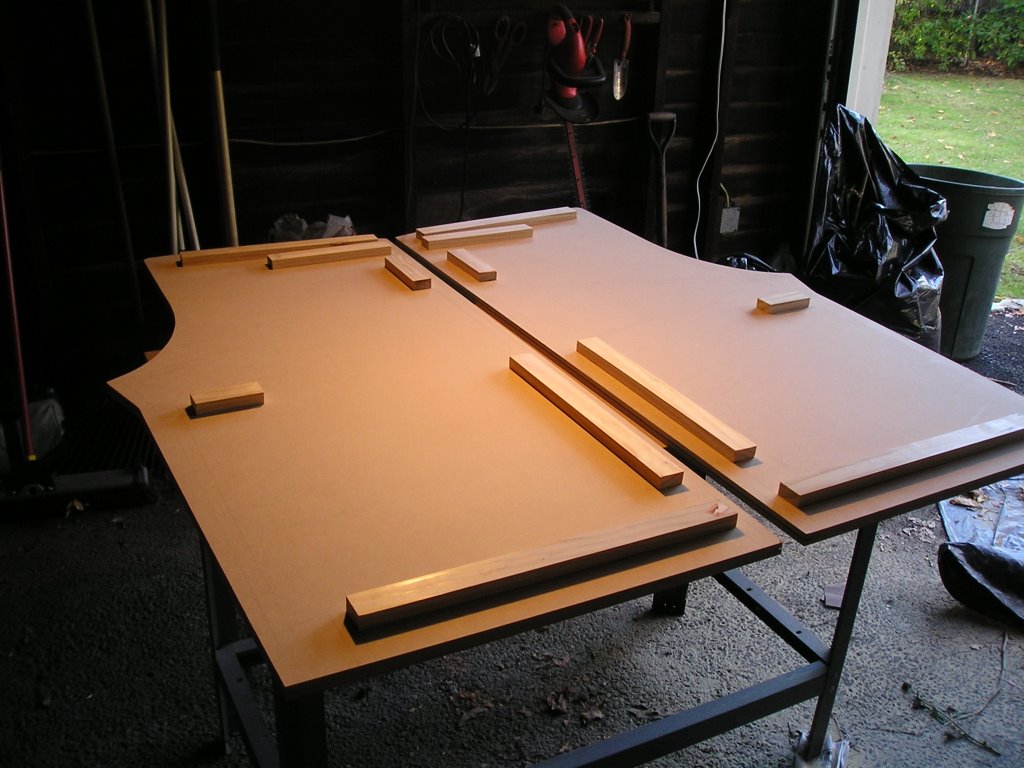

The next thing I did was cut out the interior support pieces - in the pictures they are placed in their appropriate spots where cross pieces will go but not fastened down yet. I am trying to be careful not to make any holes on the outside of the cabinet because I want it to look like a finished piece of furniture. All screws and supports will be on the inside and hidden from view.
That's all for now. Next up: routing the t-molding slots!
Thanks for looking!!


No comments:
Post a Comment